How to Add custom Notice to Shop Page in WooCommerce
In this article, we’ll discuss how to add a notice to your WooCommerce shop page. This can be useful for promoting a sale, highlighting a new product, or informing customers of a temporary closure. We’ll use the woocommerce_before_shop_loop action hook and a custom function to add the notice.
Step 1
Locate and Edit Your Theme’s Functions.php File
To begin, access your WordPress theme’s functions.php file. You can find this file in your theme’s folder, typically located at wp-content/themes/your-theme/. It’s recommended to create a child theme or use a custom plugin to avoid losing modifications during theme updates.
Step 2
let’s create a custom function that will display the notice.
add_action( 'woocommerce_before_shop_loop', 'general_shop_notice', 9 );
function general_shop_notice() {
	?>
	<div class="general-shop-notice">
		<p><?php esc_html_e( 🌞 Summer Sale Alert: Use code #SUMMER30 for 30% off all products! Shop now and save big! 🛍️', 'woocommerce' ); ?></p>
	</div>
	<?php
}
This code adds the general_shop_notice function to the woocommerce_before_shop_loop action hook, which will display the notice before the shop and archive loop.
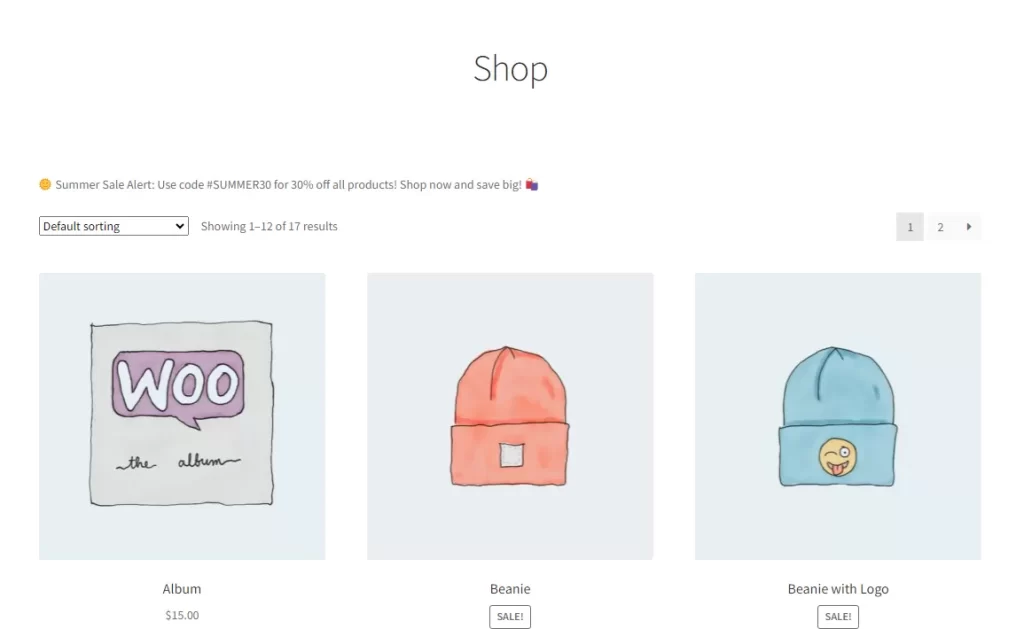
The notice is there but it doesn’t look good. the next step is adding some CSS styles.
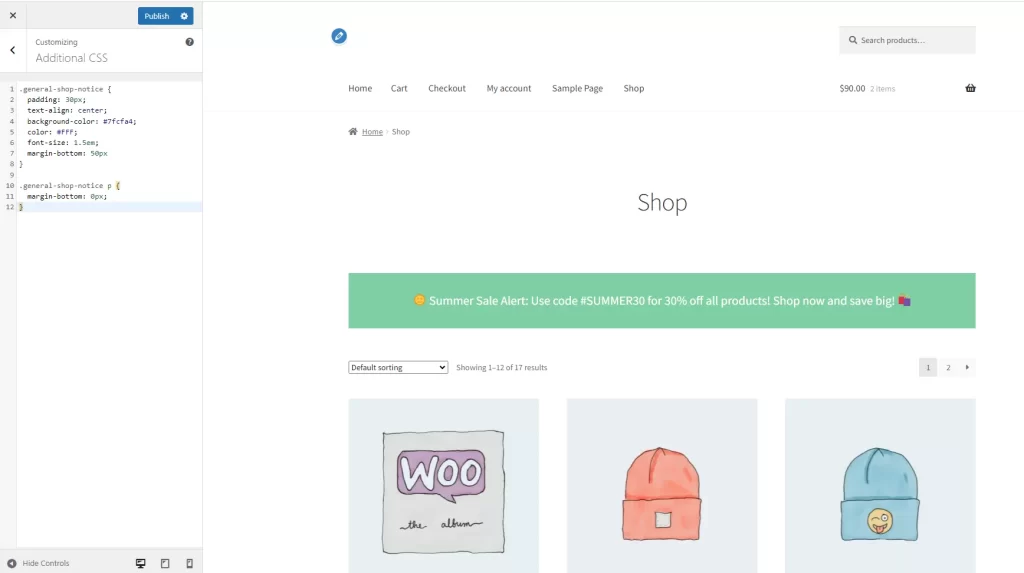
Click on Appearance menu -> Customize -> Additional CSS
.general-shop-notice {
	padding: 30px;
	text-align: center;
	background-color: #7fcfa4;
	color: #FFF;
	font-size: 1.5em;
	margin-bottom: 50px
}

.general-shop-notice p {
	margin-bottom: 0px;
}
By following these steps, you can effectively communicate with your customers and promote your products or services