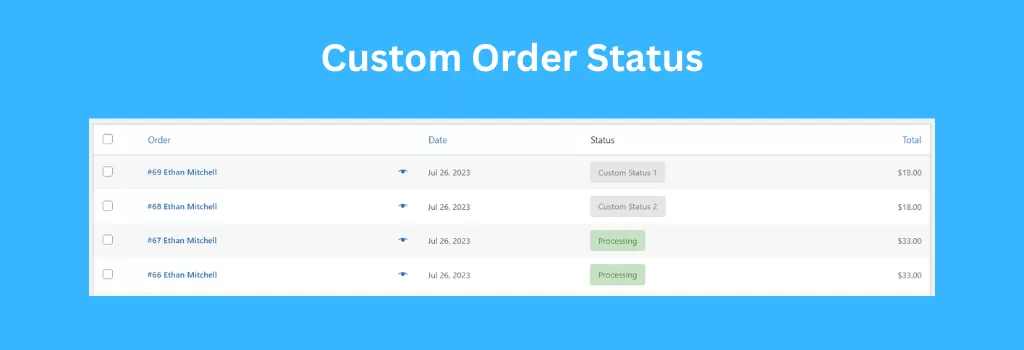
How to add custom order status in WooCommerce
Adding custom order statuses in WooCommerce can enhance your e-commerce store’s order management capabilities, allowing you to streamline your workflow and provide better customer service. This guide will walk you through the process of adding custom order statuses in WooCommerce, empowering you to tailor the order management system to your specific business needs.
we will walk you through the process of adding a custom order status in WooCommerce using a simple code snippet. This method allows you to have complete control over your order workflows without relying on additional plugins.
Step 1
Locate and Edit Your Theme’s Functions.php File
To begin, access your WordPress theme’s functions.php file. You can find this file in your theme’s folder, typically located at wp-content/themes/your-theme/. It’s recommended to create a child theme or use a custom plugin to avoid losing modifications during theme updates.
Step 2
Add the Custom Order Status Code Snippet
Insert the following code snippet into your functions.php file:
add_filter( 'wc_order_statuses', 'custom_order_statuses', 1000, 1 );

function custom_order_statuses( $statuses ) {
	$statuses['wc-custom-status-1'] = _x( 'Custom Status 1', 'Order status', 'woocommerce' );
	$statuses['wc-custom-status-2'] = _x( 'Custom Status 2', 'Order status', 'woocommerce' );
	return $statuses;
}

add_filter( 'woocommerce_register_shop_order_post_statuses', 'register_custom_order_status', 100, 1 );

function register_custom_order_status( $order_statuses ) {
	$order_statuses['wc-custom-status-1'] = array(
		'label'                     => _x( 'Custom Order Status 1', 'Order status', 'woocommerce' ),
		'public'                    => false,
		'exclude_from_search'       => false,
		'show_in_admin_all_list'    => true,
		'show_in_admin_status_list' => true,
		/* translators: %s: number of orders */
		'label_count'               => _n_noop( 'Custom order status 1 <span class="count">(%s)</span>', 'Custom order status 1 <span class="count">(%s)</span>', 'woocommerce' ),
	);
	$order_statuses['wc-custom-status-2'] = array(
		'label'                     => _x( 'Custom Order Status 2', 'Order status', 'woocommerce' ),
		'public'                    => false,
		'exclude_from_search'       => false,
		'show_in_admin_all_list'    => true,
		'show_in_admin_status_list' => true,
		/* translators: %s: number of orders */
		'label_count'               => _n_noop( 'Custom order status 2 <span class="count">(%s)</span>', 'Custom order status 2 <span class="count">(%s)</span>', 'woocommerce' ),
	);
	return $order_statuses;
}
Define Custom Order Status Properties
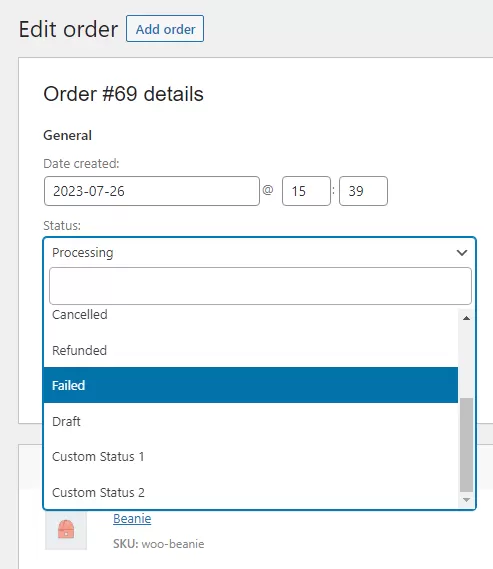
In the code snippet, 'wc-custom-status-1' represents the slug for your custom order status. You can modify it to suit your needs but, it must be unique per status, starts with wc- prefix and the slug doesn’t exceed 20 characters. Similarly, 'Custom Status 1' is the label that will be displayed in the WooCommerce admin interface. Feel free to change it to a more appropriate label for your order status.
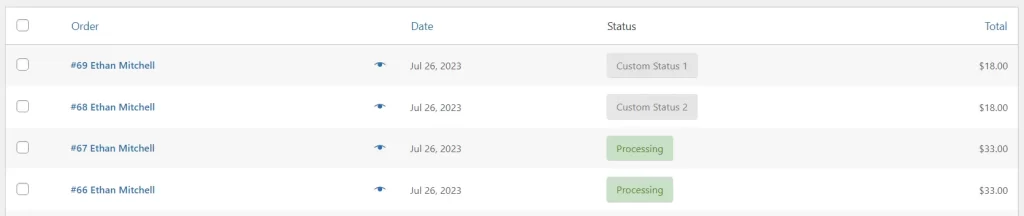
By using this code snippet, you can add custom order statuses to your WooCommerce store without relying on additional plugins. This method provides flexibility and control over your order management system
Looking for WooCommerce plugins?
GrandPlugins — Lightweight WordPress & WooCommerce Plugins
Cart control, pricing rules, media watermarking & more. Affordable and actively supported.